
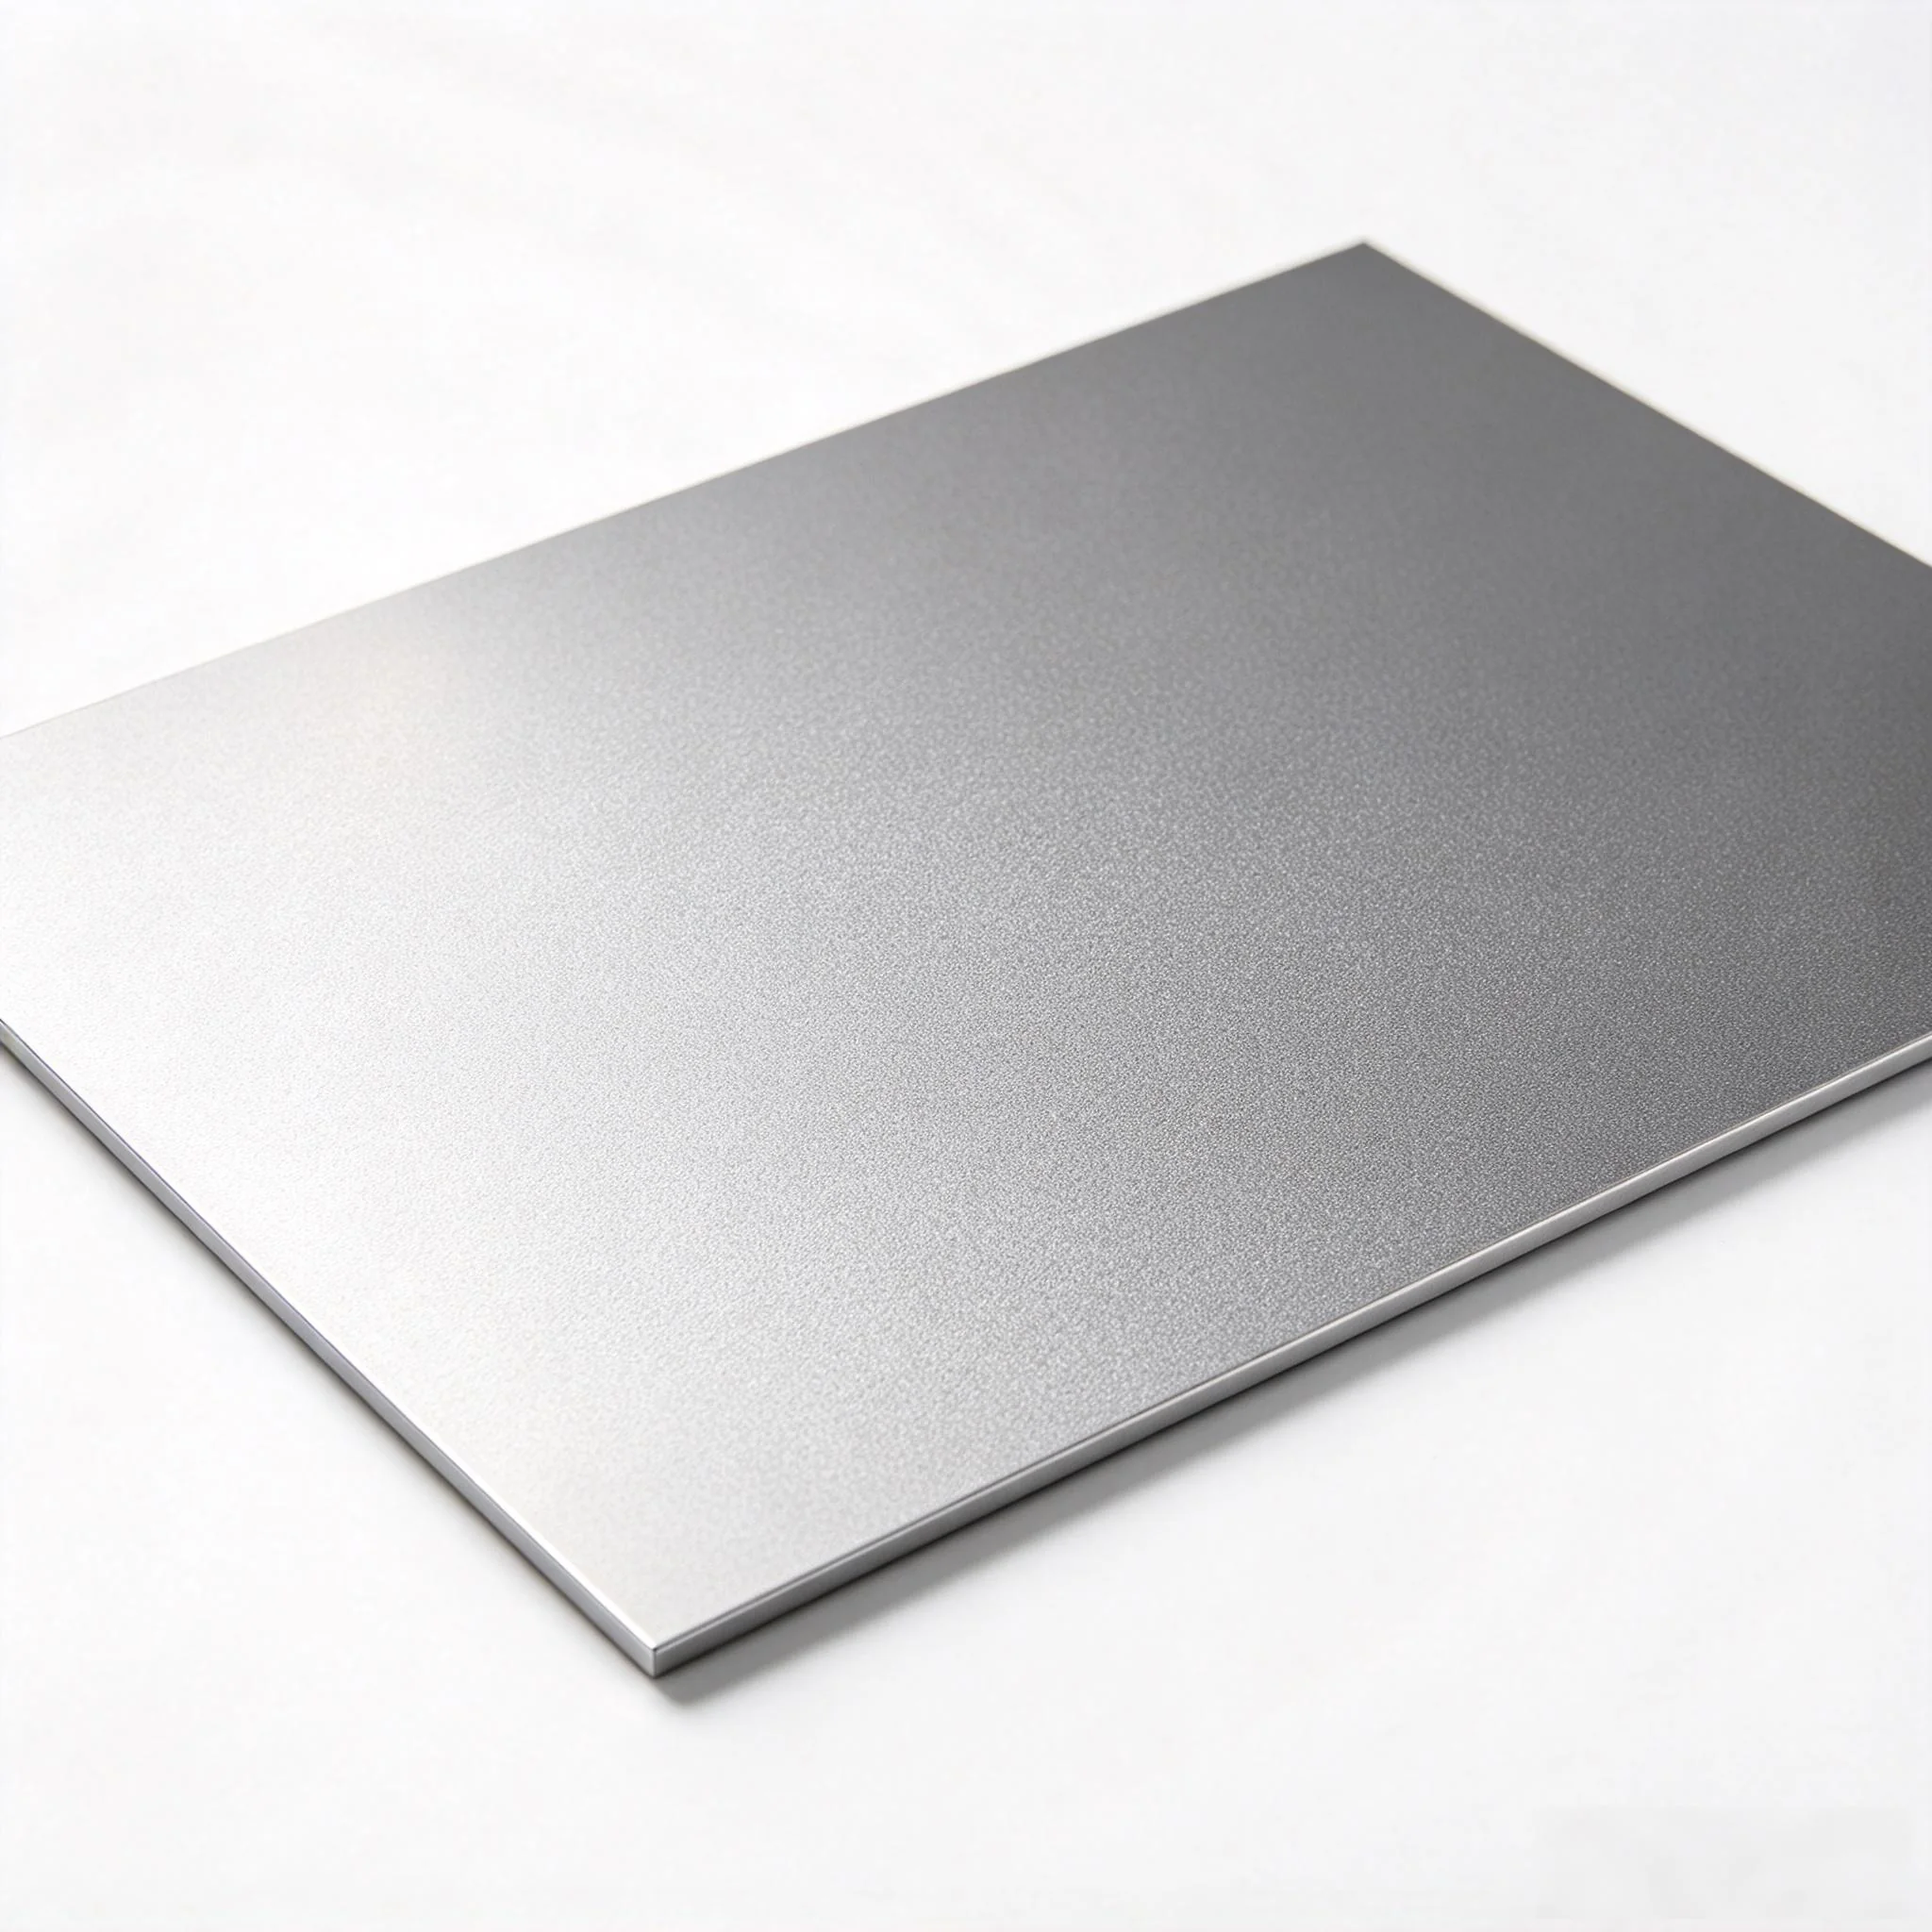
A No.4 finish is only as good as its consistency. The grain has to run in one direction, at one depth, across the whole sheet or coil — and it has to look the same on the panel you deliver next month as on the sample approved last week. Two sheets that pass through the same polishing line an hour apart can still come out visibly different, and the defect almost always shows up as one of seven symptoms: uneven grain, repeating vibration marks, a shift in surface roughness, fast abrasive belt wear, scratches, one-sided grinding pressure, or a visible difference between production batches.
Replacing the abrasive belt fixes some of these problems and none of the others. The seven sections below separate what you can see from what actually causes it, and give you one check to run before you change a machine setting or order a different abrasive.
Start With Three Questions
Before you adjust anything on the machine, answer three questions. In most No.4 troubleshooting the answers already narrow the fault down to the material, the process, or the machine.
- What did the incoming material look like? Inspect the raw sheet or coil under the same lighting you use for the finished surface. Grain depth, flatness, thickness tolerance and surface condition all carry through the polishing process, and a defect that was already in the material cannot be polished out by changing pressure.
- Where did the defect first appear? A mark that holds the same position across the sheet width points to the machine or a fixed contact point. A mark that follows particular sheets points to the incoming material or the abrasive.
- What changed before it appeared? A belt change, a new material delivery, a shift change, a maintenance task, a feed-speed adjustment. A defect that starts immediately after a specific event is the easiest kind to fix.
If you are new to the finish itself, start with what No.4 finish actually is and how it is produced before you try to troubleshoot it.
Quick Reference: Defect, Likely Cause, First Check
Use this table to jump to the right section. The detailed checks follow it.
| Defect | Most likely cause | Check this first |
|---|---|---|
| Uneven grain | Unstable feeding or uneven contact pressure | Belt tracking and sheet support |
| Vibration marks | Mechanical vibration in a grinding head or drive | Mark spacing versus feed and head speed |
| Inconsistent roughness | Abrasive wear or a change in belt specification | New belt versus end-of-life belt samples |
| Fast abrasive belt wear | Excessive pressure or poor belt tracking | Wear pattern across the belt width |
| Surface scratches | Contamination or a damaged contact point | Incoming sheet, then the full material path |
| One-sided grinding | Head alignment, roller condition or thickness variation | Grain across the full width of consecutive sheets |
| Batch-to-batch variation | Undocumented setting changes or material changes | Reference sample versus current output |
1. Uneven Grain
What it looks like: Some areas of the sheet appear darker or more heavily ground than others, and the grain changes character across the sheet width instead of running uniformly from edge to edge.
What causes it: Uneven contact pressure, unstable feeding, a worn or badly tracked abrasive belt, variation in the flatness of the incoming sheet, or grinding heads that were not set consistently.
How to confirm it: Compare the incoming and the finished sheet under identical lighting, then establish whether the defect holds one position across the width, follows particular sheets, or appears only after a belt change. That single observation separates a machine fault from a material fault.
How to correct it: Fix the feed or support problem before touching pressure. Then adjust pressure in small steps and run a test piece after each change, keeping the abrasive specification and belt condition constant throughout so that only one variable moves at a time.
What the machine needs: Stable feeding, repeatable head adjustment, correct belt tracking and uniform contact pressure across the full usable working width. A No.4 finish stainless steel sheet polishing machine that cannot hold these four conditions will keep producing uneven grain no matter which abrasive you fit.
2. Vibration Marks
What it looks like: Bands or marks repeat at regular intervals along the feed direction. They are often faint when the sheet is viewed straight on and obvious when it is tilted into the light.
What causes it: Vibration in a grinding head or drive component, inconsistent contact between the abrasive and the sheet, unstable material feeding, or insufficient support for the workpiece.
How to confirm it: Measure the spacing between the marks, then see whether that spacing changes with feed speed or head speed. Check the grinding head, rollers, bearings, drive system and the sheet path. Do not assume a repeating mark comes from the abrasive belt — the interval usually points to a rotating component instead.
How to correct it: Find and correct the mechanical or feeding source before raising grinding pressure. Extra pressure does not remove vibration marks; it makes them deeper and wears the abrasive faster.
What the machine needs: Frame rigidity, grinding-head stability, sound roller condition, and support that holds the sheet steady through the whole grinding zone.
3. Inconsistent Surface Roughness
What it looks like: The finish reads finer in some areas or batches and coarser in others, even though the nominal abrasive grit has not changed.
What causes it: Abrasive wear, a change in belt specification or condition, fluctuating grinding pressure, changes in feed speed, or a difference in the incoming surface.
How to confirm it: Compare a sample made with a new belt against one made with a belt close to its replacement point. Record the incoming finish, belt identification, pressure setting and feed speed for both. Judge the samples with a fixed inspection method rather than from memory.
How to correct it: Approve a reference sample and document a working process range around it. Replace belts on observed finish quality as well as on wear, and repeat the trial whenever the incoming surface changes.
What the machine needs: Repeatable adjustment of feed speed and grinding pressure. When both settings can be returned to a recorded value, an approved No.4 finish becomes reproducible rather than approximate.
4. Rapid Abrasive Belt Wear
What it looks like: Belts lose cutting ability quickly, need replacing far sooner than expected, or wear unevenly across their width.
What causes it: An abrasive that does not suit the material or the incoming surface, excessive pressure, poor tracking, uneven contact, or operating conditions that let debris build up on the belt.
How to confirm it: Check whether the wear is uniform. Look for loading, damaged edges, or a narrow band carrying most of the grinding load. Compare the belt’s condition with the finish produced just before it was replaced — a belt that still cuts but leaves a poor finish is a different problem from one that has stopped cutting.
How to correct it: Match the abrasive system to the material, incoming surface and target grain. Correct tracking and contact faults before trying another belt specification. Do not add pressure to compensate for a belt that has lost its cutting ability; that trades belt life for finish quality and usually loses both.
What the machine needs: Correct belt tracking, fine pressure adjustment, and good access for inspection and replacement. Belt life on its own is not a reliable measure of finish quality.
5. Surface Scratches
What it looks like: Deep or isolated scratches that stay visible through the No.4 grain, or new scratches that appear after polishing is complete.
What causes it: Defects already present in the incoming material, metal particles or other contamination, a damaged abrasive, dirty handling equipment, or contact damage during transfer and stacking.
How to confirm it: Inspect the sheet before processing and photograph any defect you find. If scratches appear afterwards, follow the sheet from loading through polishing, cleaning, unloading and stacking, and check whether they line up with a fixed contact point.
How to correct it: Remove the contamination, replace the damaged abrasive and correct the contact point that is causing the damage. Put handling rules in place that protect the finished face. Deeper grinding will not always remove a scratch — and it takes thickness and definition with it.
What the machine needs: The whole material path matters, including conveyors, cleaning, loading and unloading. Surface protection after grinding is part of finish quality, not a separate concern.
6. Uneven Grinding Pressure
What it looks like: One side of the sheet is processed more heavily than the other, or the finish changes as sheets of different thickness or flatness enter the machine.
What causes it: Grinding-head alignment, roller condition, sheet thickness variation, inadequate support, or settings that were never adjusted for the material actually being run.
How to confirm it: Compare grain across the full width of several consecutive sheets. Check incoming thickness and flatness first, then verify mechanical alignment and pressure settings. Separating a material problem from a machine problem before you make corrections saves a lot of unnecessary adjustment.
How to correct it: Correct alignment and support, then set pressure for the material in front of you. Whenever the material dimensions change, run a test sheet and confirm the finish across its full width before releasing the batch.
What the machine needs: Controlled adjustment and stable contact during continuous feeding. A stainless steel grinding machine that holds alignment under load keeps the finish consistent as material varies; the right configuration depends on the material range and the finish you need.
7. Finish Differences Between Production Batches
What it looks like: Each batch passes inspection on its own, but adjacent batches show a visible difference in grain depth, direction or overall appearance.
What causes it: A change in stainless steel grade or incoming surface, abrasive wear, undocumented parameter changes, different inspection conditions, or differences in operator practice.
How to confirm it: Keep a reference sample from an approved batch and compare it against current output under the same lighting. Check incoming material records, belt condition and machine settings, and look at whether the difference began after a material delivery, a shift change or a maintenance task.
How to correct it: Document approved settings and material requirements, and define exactly when an operator must stop and recheck a sample — after a belt change, a new material batch, or any machine adjustment. Use the same reference sample for production and for final inspection.
What the machine needs: Repeatable controls and clear operating records reduce batch variation, but they cannot eliminate differences in incoming material, so material inspection stays necessary. For the wider picture across finish types, see how to produce No.4, hairline and 8K mirror finishes consistently.
Why Consistency Is Judged Across the Whole Order
A No.4 surface is judged across an entire sheet or coil, and usually across several deliveries. A small shift in grain is easy to miss on a single piece and impossible to miss once panels are installed next to each other.
That is why an acceptable first sample is not enough. The line has to reproduce that sample as belts wear, operators change and new material batches arrive. Stable production is a property of the process, not a property of one sample.
How Machine Design Affects No.4 Quality
Abrasive choice matters, but the abrasive can only work if it makes stable contact with the material. Frame rigidity and grinding-head stability decide how likely vibration marks are. Feeding and sheet support decide whether the same area receives consistent grinding action. Belt tracking and pressure adjustment decide how uniform the grain is across the working width.
Where a line is equipped with PLC controls, saved or clearly documented settings help operators reproduce an approved process instead of rediscovering it every shift. Wet grinding, where it applies, adds its own requirement for managing the processing medium and residue. Neither control software nor wet processing can compensate for defective incoming material or neglected maintenance.
OUYIGANG builds No.4 finish polishing equipment and automatic stainless steel sheet polishing machines, including the No.4 finish stainless steel polishing machine and the No.4 finish sheet polishing machine. The right machine and abrasive combination is always evaluated against your material, incoming surface, target finish and production volume.
A Practical Control Routine for No.4 Lines
Most of the seven defects above come back when the process is not written down. A short routine, run consistently, prevents more quality complaints than any single machine upgrade:
- Inspect incoming material and record grade, thickness, flatness and surface condition.
- Approve a reference sample and keep it where operators can reach it, not in an office drawer.
- Record the settings that produced it — feed speed, grinding pressure, head positions, abrasive specification.
- Recheck after every abrasive change, and after any maintenance that touches the grinding heads.
- Standardise inspection lighting so that a finish judged acceptable at one station is acceptable at the next.
- Change one variable at a time when a defect appears, and record what you changed.
Frequently Asked Questions
Can a worn abrasive belt cause uneven grain?
Yes. A belt that has lost cutting ability or tracks badly produces uneven contact across the sheet width, which reads as uneven grain. Check belt condition and tracking before you adjust grinding pressure.
Why do vibration marks appear at regular intervals?
Regular spacing points to a rotating component — a grinding head, roller, bearing or drive part — rather than to the abrasive itself. Measure the interval and see whether it changes with feed or head speed; that identifies which component is responsible.
Does a finer abrasive grit fix a rough No.4 finish?
Not on its own. If the roughness comes from pressure fluctuation, feed-speed changes or a worn belt, a finer grit only makes the same inconsistency finer. Correct the process first, then choose the grit.
Can scratches be polished out with more pressure?
Sometimes, but it is the wrong first move. Deeper grinding removes material and can flatten the grain you are trying to protect. Find the contamination or the contact point causing the scratch first.
Why does each batch look slightly different even when the settings are the same?
Usually because something outside the settings changed: a new material delivery, a different abrasive batch, a belt at a different stage of wear, or a shift working under different inspection lighting. Record those variables alongside the machine settings.
Talk to OUYIGANG About Your No.4 Line
When a defect keeps coming back despite adjustments, the cause is usually the interaction between the material, the abrasive system and the machine rather than any one of them on its own. Send us the details and our engineers will work through it with you.
Tell us your:
- Material and grade
- Thickness and width
- Required finish and grain
- Current defect, if any
- Production capacity
We will recommend the polishing configuration that fits your material, your target finish and your output.
Contact OUYIGANG: WhatsApp / Mobile +86 18675162050